Creating custom workflows using Automator
Custom workflows and automations are intended for power-users who wish to define more complex logic, rules and conditions than Automator's ready-made templates may provide out of the box. While it is the goal of Automator to enable any user to create a custom workflow, some may wish to enlist the help of someone more technical to consult on the creation of a custom workflow, especially if the creation of rules and specification of actions is something they are not comfortable with.
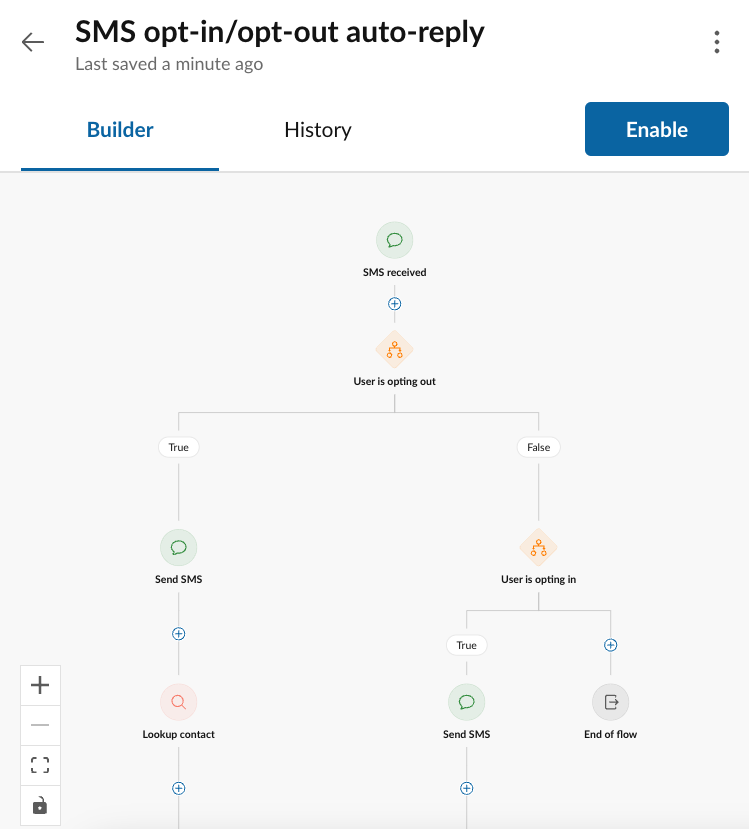
Editing workflows
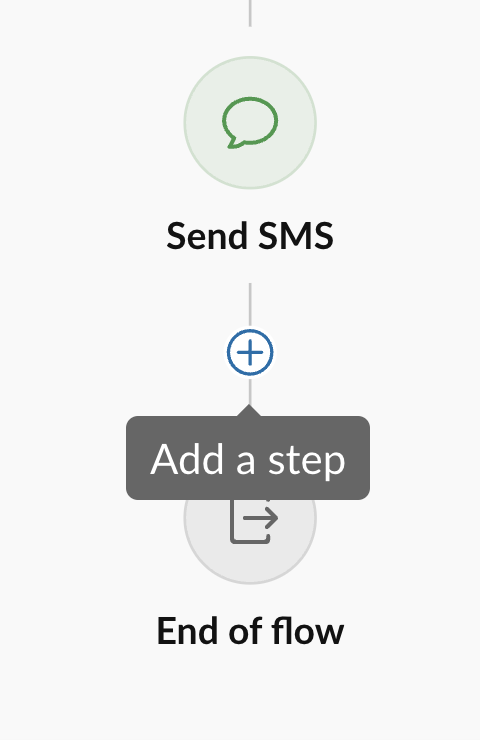
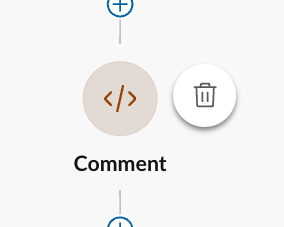
Adding and remove a node in a workflow
Nodes are added to a workflow by clicking the "+" icon located between nodes. At any of these locations, conditionals and action nodes can be inserted.
Selecting an action to add to a workflow
When adding an action, you will be given a chance to select from a list of available actions. Select the action you want to add and click "Add."

Why are some action's disabled, or greyed-out?
From time to time you may find an action listed that is disabled and cannot be added to a workflow. This is due to the feature associated with that action not being abled for your account. The most common scenario for this are actions related to sending SMS because in order to send SMS messages, users must go through what is often a multi-step approval and setup process with RingCentral and carriers to fully enable SMS for an account.
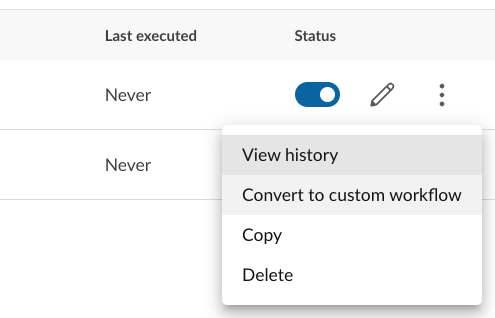
Customizing a workflow from an automation template
One of the most common ways used to create an automation is to create an automation from a template, and then customize it by converting it to an "advanced automation." This has the advantage of starting from a place known to be fully tested and functional, and then customizing it sometimes in small, but impactful ways. It can save a lot of time from building an automation from zero.
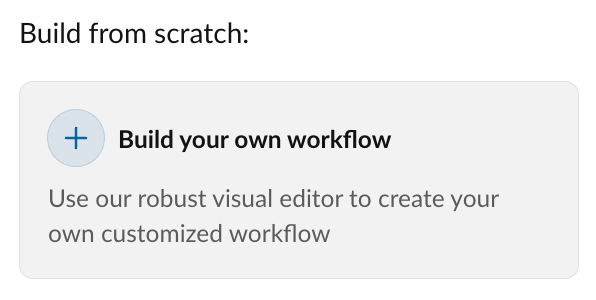
Building a custom workflow from scratch
Sometimes there is no template that serves as a good starting point. When this happen, you can start with a blank canvas by clicking "New automation" and selecting the "Build your own workflow" option. You will then be prompted to select the triggering event, and then you will be taken a blank workflow into which you can begin adding actions and conditionals.